Wow! It’s been a while. I’ve had a nice little vacation with both of my boys having two weeks off and getting the chance to visit with lots of friends and family. I’m going to share the highlights with you photo journal (insta) style and starting tomorrow it will be back to bloginess as usual (that doesn’t exactly have the impact I hoped…how about buis-og?)
Anyway, a few of the things I have to share with you in the coming days are related to some of these pics…can you guess which ones??

Ft. Worth Sunset as we head south to Austin

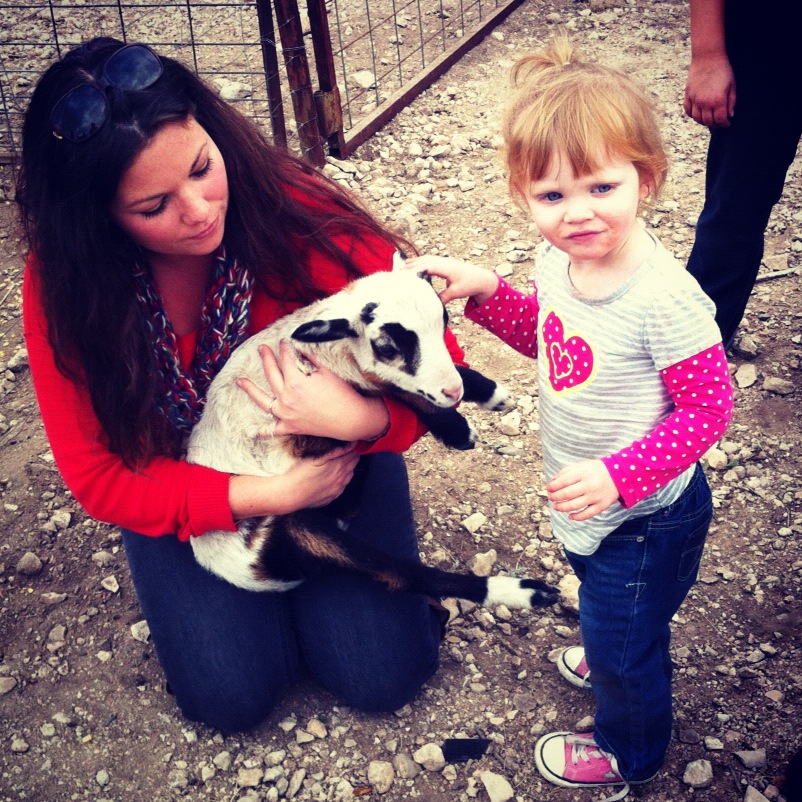
Visiting my grandparents’ ranch west of San Antonio we were able to get some baby love from the newest addition to their family of Barbados sheep and fed their bodyguard the Bethlehem donkey.

We hiked to the top of the “mountain” on their property where we encountered serious lack of a trail but at least J had a machete to clear the way. Isn’t it beautiful? Ok, maybe you have to be a Texas girl to appreciate the beauty in this terrain riddled with rocks and cacti…it makes me happy.


Mountain Conquered

Back in Austin we drove by the Capitol building so the kids could see how massive it is. It’s pretty impressive.

6th street during the day is quite charming.

Goodbye Austin!

Back home on Christmas Eve making apple butter for tomorrow’s breakfast

The kids and I got up early to get breakfast, coffee and a fire made before waking up dad.


LOOK WHAT MY WONDERFUL HUSBAND GOT ME!!!

After opening gifts heading to see more family. We were all pretty tired.

We’ve been promised snow and we’re patiently waiting.
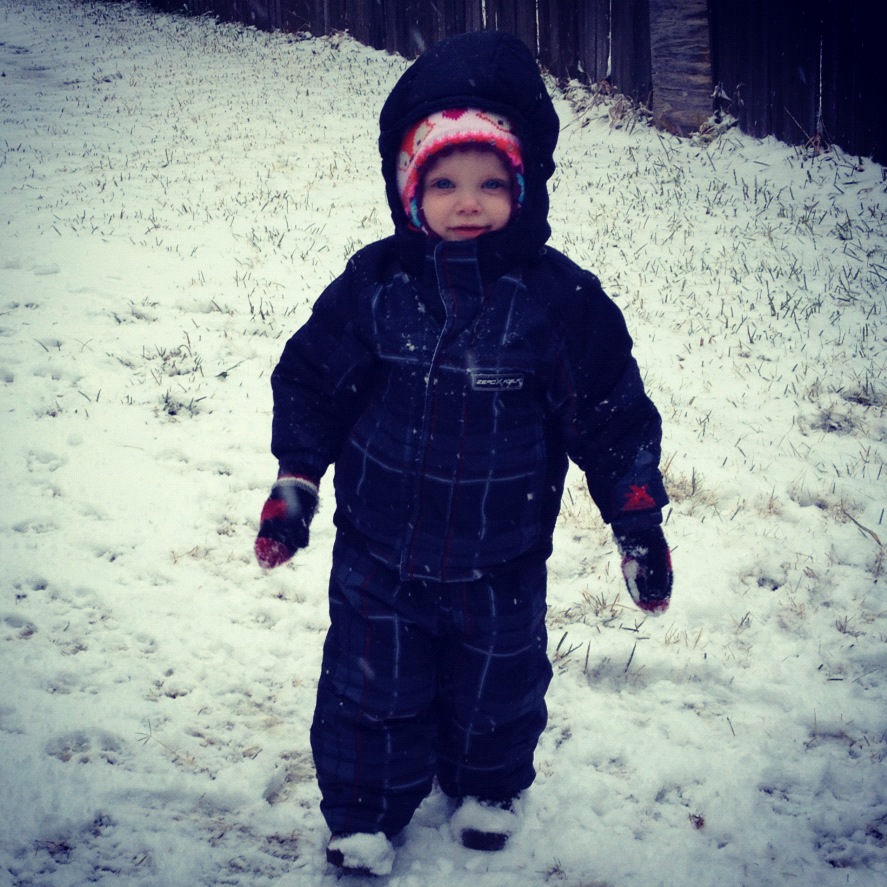
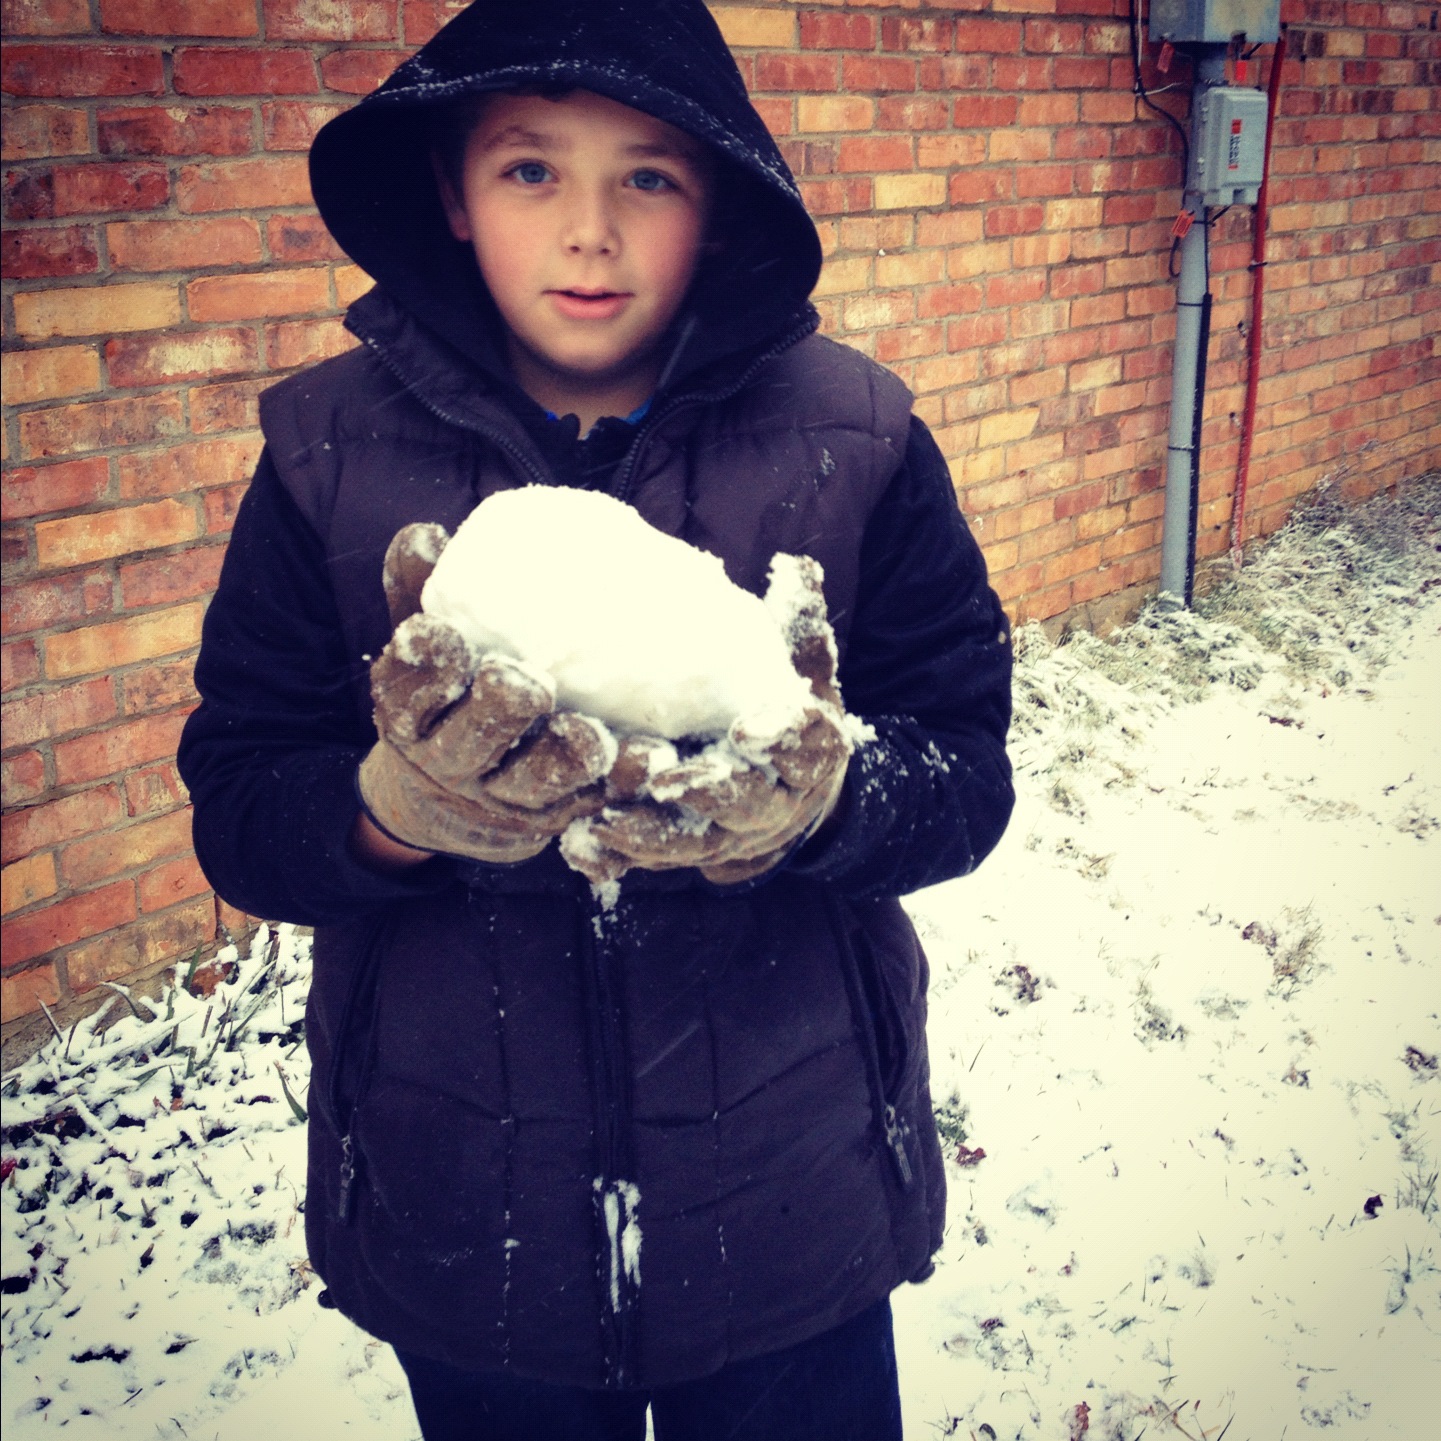
What can I say? This was a great snow for these parts!

Broccoli thief

Cute cousins 🙂

helping with dinner ❤

New glasses. Like?

Found the most ridiculous shirt on the clearance rack at Old Navy while clothes shopping for J. After all of my mockery of this “sandwich” I couldn’t pass it up!
Hope you all enjoyed your holiday time as much as we did!